Home » Top Tourist Attractions in Tanzania » Northern Tanzania » Mount Kilimanjaro

Standing at an awe-inspiring 5,896 meters, Mount Kilimanjaro is Africa’s highest mountain and one of the continent’s most iconic sights. With its three main volcanic peaks—Kibo, Mawenzi, and Shira—Kilimanjaro is a breathtaking natural wonder. Moreover, the name “Kilimanjaro” is shrouded in mystery, often interpreted as “Mountain of Light,” “Mountain of Greatness,” or “Mountain of Caravans.”
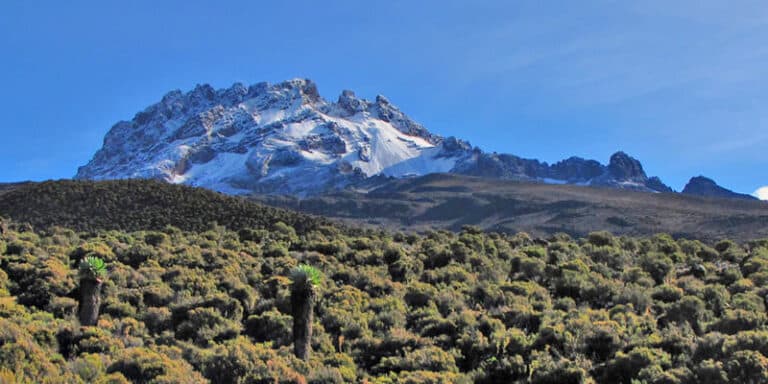
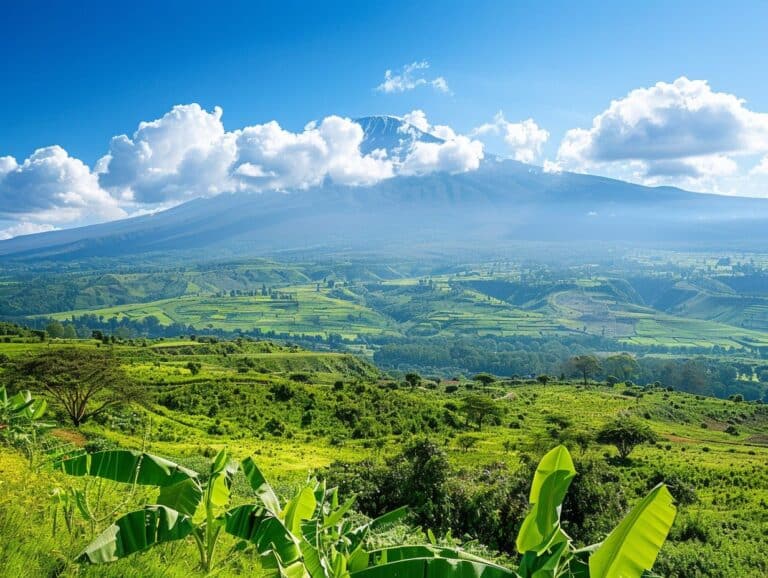
Rising above the rolling hills and plateaux of northern Tanzania, Kilimanjaro’s snow-capped peak gleams against a backdrop of clouds. Additionally, located near the town of Moshi, the mountain is a carefully protected area, managed to ensure climbers can explore its beauty while minimizing their impact. Its diverse ecosystems range from lush farmlands to barren alpine deserts, creating a journey as striking as the summit itself.
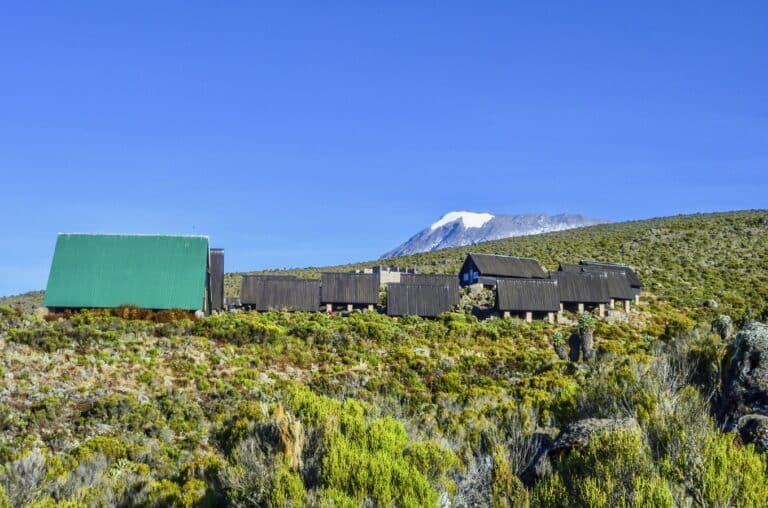
The lower slopes of Kilimanjaro are predominantly farmland, where locals cultivate coffee, bananas, cassava, and maize. While larger coffee farms still operate, much of the land outside the national park has been divided into smaller plots. Upon entering the park, thick lowland forests dominate, eventually giving way to alpine meadows as the altitude increases. Near the summit, the landscape transforms into a stark yet captivating terrain of rock and ice, offering panoramic views across Africa.
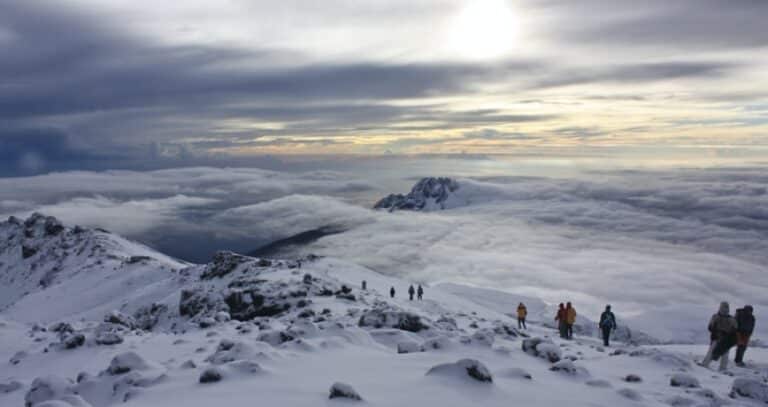
For many visitors, climbing Mount Kilimanjaro is the pinnacle of their Tanzanian adventure. Not only does the mountain offer unrivaled vistas, including sweeping views of Amboseli National Park in Kenya, the Rift Valley, and the Maasai Steppe, but it is also known as the ‘Roof of Africa.’ Furthermore, Kilimanjaro’s summit is a challenge accessible to both seasoned trekkers and first-time climbers with proper preparation. At 5,896 meters, the ascent is an adventure of a lifetime. For detailed guidance on climbing routes and experiences, refer to the ‘Mountain Climbing’ section under ‘Things to Do.’
The origins of the name “Kilimanjaro” remain elusive. Although interpretations vary, the local Wachagga people refer to the snowy peak as Kipoo (now known as Kibo), which stands as a commanding presence overlooking the continent. In fact, this imperious summit is not just a geographical feature but a symbol of the continent’s grandeur.
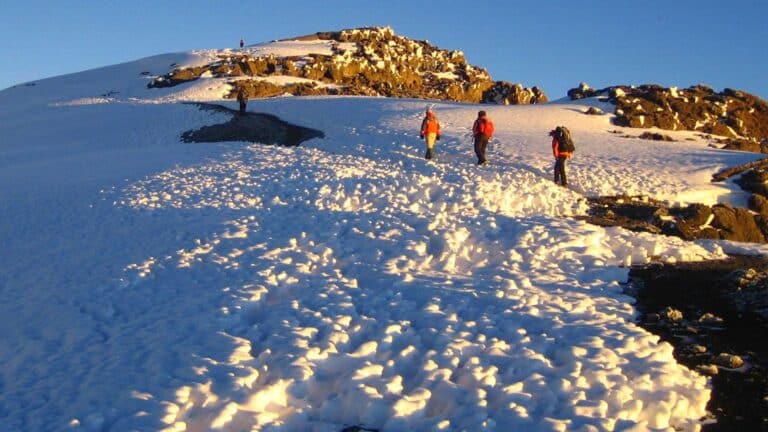
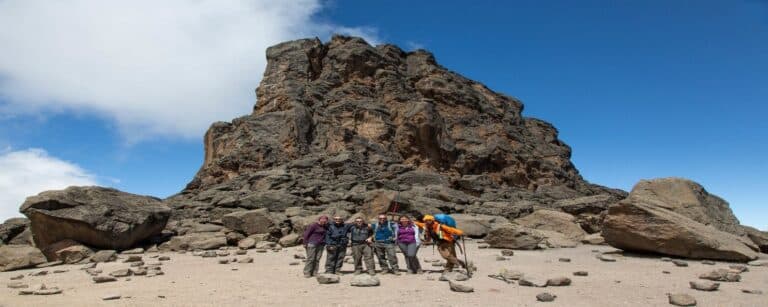
Mount Kilimanjaro is among the world’s most accessible high-altitude summits. Most climbers reach the crater rim equipped with determination, appropriate clothing, and a walking stick. Once they reach Uhuru Point, the highest peak, or Gillman’s Point on the crater’s edge, climbers earn certificates and unforgettable memories.
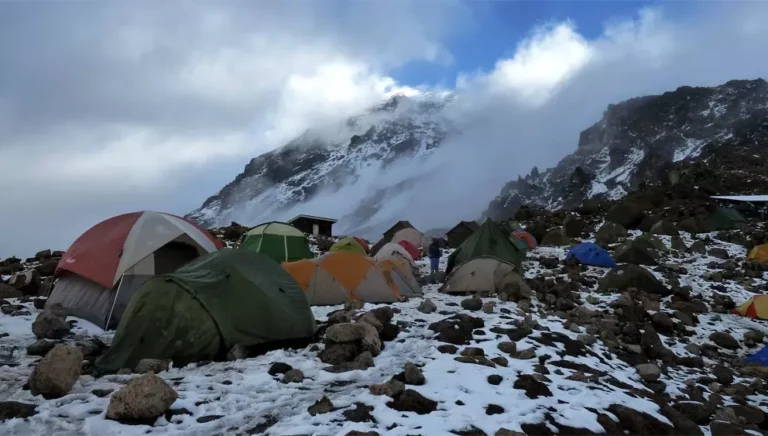
Kilimanjaro offers more than its summit; its slopes are a journey through varied climatic zones. Before reaching the park boundary at 2,700 meters, cultivated lands transition into lush montane forests, home to elusive elephants, leopards, buffaloes, and the endangered Abbot’s duiker. Higher up, the moorland zone is adorned with giant heather and peculiar giant lobelias, creating an almost otherworldly landscape.
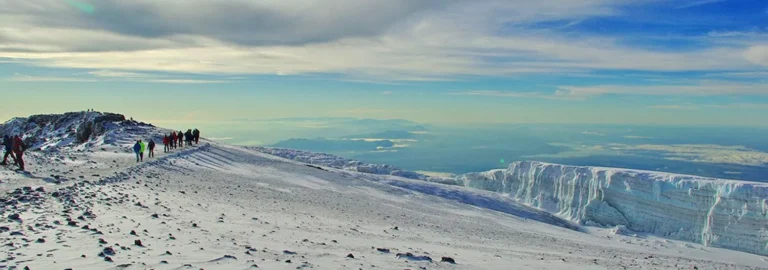
Above 4,000 meters, a surreal alpine desert emerges, hosting only the hardiest mosses and lichens. Beyond this, the final stretch reveals a stunning winter wonderland of ice and snow, crowning the mountain with an unparalleled beauty that makes it the true roof of the continent.
Route | Description | Days | Length |
|---|---|---|---|
Northern Circuit | Newest route on Kilimanjaro. Very low traffic due to very long time on the mountain traverses nearly the entire mountain including the north side. Long route with great views. | 9 | 90 km |
Lemosho | Long access drive, remote, less frequented forested traverse to Barafu, camping. | 7,8 | 56 km |
Machame | Second most popular route and trail offers stunning views, and plenty of time to acclimate. Forested traverse to Barafu. | 4,5,6,7,8 | 49 km |
Marangu | The oldest and most well established trekking route and remains extremely popular compare to others. This path provides trekkers with the classic Kilimanjaro climbing experience, offering sweeping views and a wonderful hiking adventure all the way to the summit of Uhuru Peak | 5,6 | 72 km |
Rongai | The only route that approaches Kilimanjaro from the north, close to the Kenyan border; experiences low crowds; has gradual slope than the other routes. Good for acclimatization. | 6,7 | 65 km |
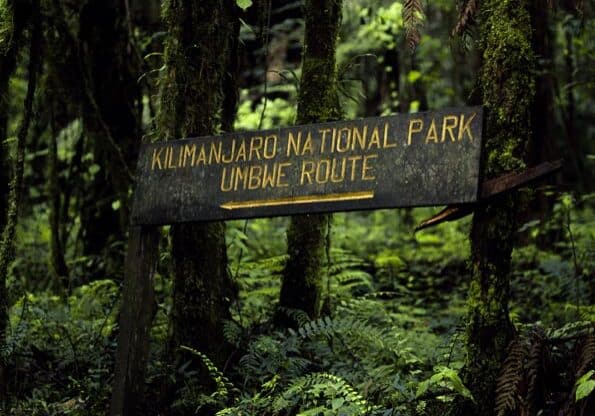
Umbwe | The route is short, steep and direct route and its considered to be very difficult and challenging way up the Mountain | 5,6 | 37 km |
Western Breach | The Western Breach is the steepest, but shortest, of all the non-technical final ascents of Kibo, and should not be lightly undertaken. It can be approached from the Machame, Umbwe, Shira/Lemosho or northern circuit routes | 4,5,6 | 50 km |
Kilimanjaro can be climbed year-round, but most climbers avoid the two rainy seasons. The long rains usually occur from mid-March to May, while the short rains typically happen in late October and November. Popular months for climbing include January, February, July, August, and September. During the rainy seasons, the trails can become slippery, making the ascent more challenging.
Located 40 km from Moshi Town and 128 km (80 miles) from Arusha Town, the park is conveniently accessible by road or air. It is about a one-hour drive from Kilimanjaro International Airport (JRO), which lies approximately 45 km to the west.
The Park Headquarters and one of the main entry gates are situated in Marangu, about 41 km from Moshi Town and 86 km from Kilimanjaro International Airport. Additionally, seven other gates—Rongai, Machame, Londorosi, Lemosho, Kilema, Mweka, and Umbwe—are strategically located around the mountain’s base, all accessible by road.
Temperatures at the summit can fluctuate significantly. While it may sometimes be just a few degrees below freezing, visitors should be prepared for extremes that can reach as low as -25°C, especially when combined with strong winds.
Most Kilimanjaro routes range from 5 to 8 days. We recommend arriving at least one day before your climb to allow time for a thorough briefing and a gear check. After the climb, many guests choose to spend a day or two at the hotel to unwind, relax, and prepare for their journey home or the next leg of their safari adventure.
Packages to Mount Kilimanjaro National Park